
First of its kind project for us, redoing a metal spiral staircase.
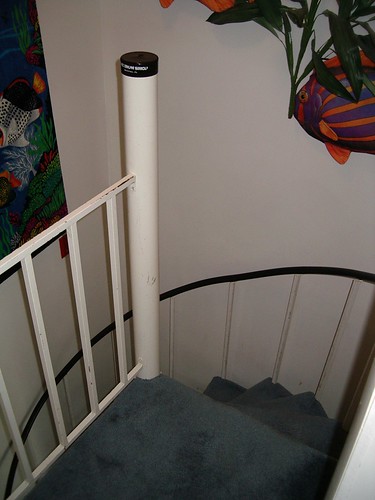
The staircase at our beach condo was in sad ( but still serviceable) shape. The blue carpeting was worn down and perpetually a bit dirty looking. All the spindles and risers had a not so fresh coat of white paint that was heavily chipped and marked with the smudges of countless suitcases and sneakers. But the topper was really the handrail, which was a plastic tube. Like a giant crazy straw.
Those staircase decor items of the 3-d fish and hanging towel? Long gone.
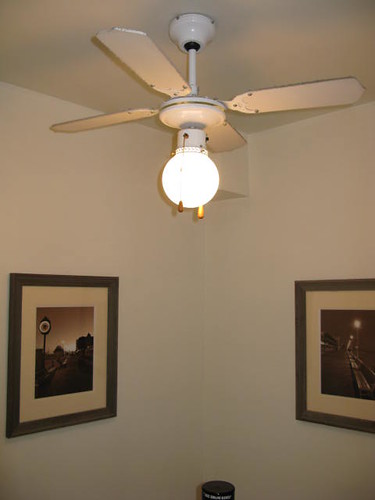
Looking up the view wasn't much better...Hello $30 rickety fan that made clicky noises but provided much needed air flow in the condo.
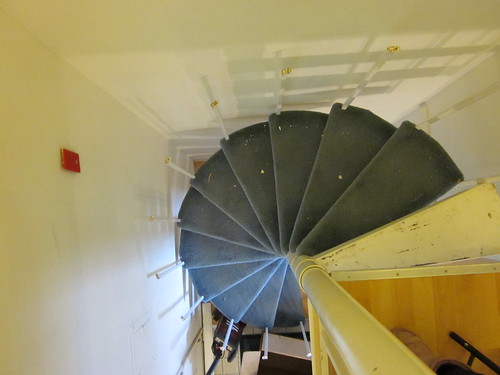
While the staircase as a whole wasn't too offending, it was really Dull. Out of the whole 700sq ft condo, the staircase is the only little bit of unique interest in the place. Stuck in the corner of blahvilles that is the kitchen.
Since the kitchen is way out of budget right now (WAY), we decided to focus on the stairs for our winter project. I know, cause we needed a "winter project" like we needed another hole in our heads.

First, Pete took off the weirdo handrail and a top step to use as our template. We're lucky in the fact that these stairs are solid metal steps underneath. I think it helps tons on the stability and DIY ability for this project. Had the stairs been more of an open skeleton underneath I'm not sure I would have felt as confident about redoing the treads as I was.
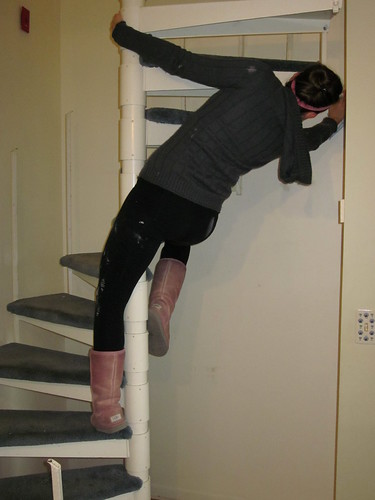
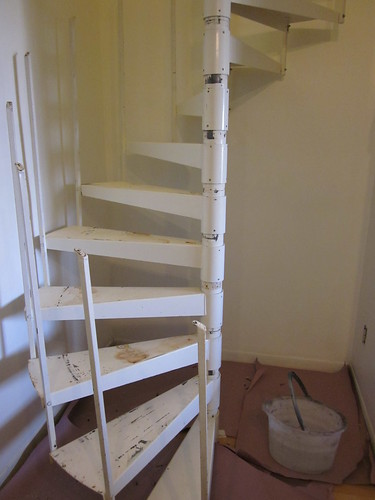
If you look for the pink ugg in the picture below, you can see we've already replaced the blue carpeting on the landing with leftover laminate from the downstairs. Thumbs up for the improvement and for using something we already owned!
Before painting I got out my bucket of water and cleaned off the walls. I'm sure most of you are like this as well, but I feel compulsive about having REALLY clean the walls before painting. The idea of all that painted in grime makes me feel... like I'm committing some sort of DIY crime. Sometimes I tell myself the amount of prep I do is why my painting projects always seem to take longer than they should, especially compared to other bloggers and their gold medal antics in the speed painting olympics. SomedayI should just face the fact that I'm a pretty slow painter. Call me a easily distracted daydreamer.
Being Mr. Up and Up on safety, Pete measured the stairs and the differences they had in height from each other. Turns out, our stairs were out of code. As not a one was a matching distance or within the right range from the other. Awesome. So in the interest of safety/covering our asses and being within code Pete took almost an entire afternoon to move the stairs. You can see the bare metal on the center pole how far some of the the stairs were moved.
 Next up, the ultimate primer application...
Next up, the ultimate primer application...
That is quite an undertaking. Do the stairs feel much different now that you've moved them?
ReplyDeletePriscilla, honestly? I could not tell at all that the stairs were moved!! Just one of those things that felt find to me, but numbers told otherwise.
ReplyDeleteI'm looking forward to your progress!
ReplyDeleteIf you feel better about cleaning the walls before you paint, than it's good that you do it. A room shouldn't make you feel uncomfortable, even if it means taking a bit longer to get paint on the walls.
ReplyDeleteLove the picture of you leaning over to clean the walls.
ReplyDeleteI, too, am a compulsive cleaner of walls before I paint, possibly because I almost never vacuum the spidy webs in the corners, and it would never do to have those painted in.
Love from M.O.M.