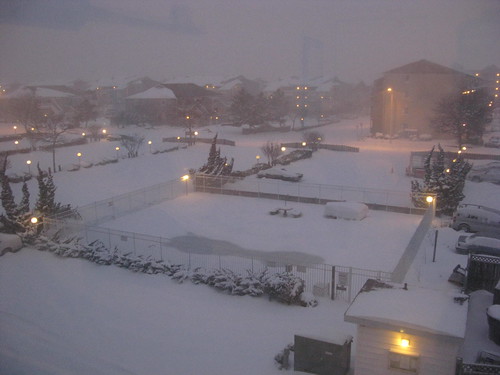
...Because it looked like this outside!

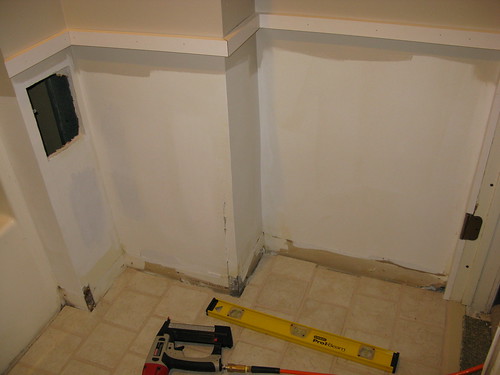
After careful measuring, leveling and nailing- Pete installed all the top trim. He did the top trim first to make sure it would be level around the room. This way we could install the bead board paneling flush to the underneath and could hide any gaps cause by the unlevel-ness with the bottom trim.

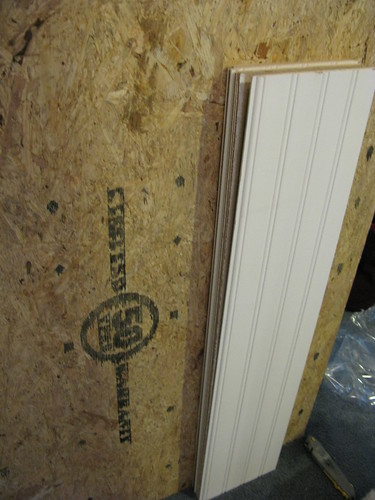
Along came the bead board panels... We used individual click together panels over bead board paneling for three reasons.
One- the store was out of the large paneling sheets.
Two- The individual panels were exactly the right height already.
Three- it was going to be about 1000 times easier to carry the little packages of bead board up the stairs over one giant paneling piece . (And it was!)

A little while longer and all the walls looked like this!

And it looked like this outside!


We used that same bead board in our bathroom. We love it!!!!
ReplyDeleteHey, that looks great! And feel your pain on cracks and ceilings. We recently (last year) put faux tintype up in the bath and kitchen to cover wonky ceilings!
ReplyDeleteWe’ve also got beadboard panel up in most of our house except living and dining rooms. (Two bedrooms are next on tap, but that’s a ways off.) I’ve always used the full sheets and had pretty good luck with them. But carrying the small packages of the real deal would DEFINITELY be easier on stairs and in tight spaces.