
I do however, have some more photos of our the beach condo bathroom remodel!
One of the ongoing issues with the condo that we've had to face while renovating and remodeling it has been how to add character to an otherwise basic condo. Think 1984 basic construction grade standards, complete with brass door knobs. One way we accomplished adding a little character and something extra to the condo was to install bead board around the bathroom. Not only does the bead board have a great beachy feel to it, but it also helps to protect our lower walls from further damage!
Adding an accent tile wall above the sink was something that Pete and I discussed early on in the design plan for the bathroom. Especially since the sink and vanity are in a wall niche of their own. That would have provided us with clear space for defining and the boundaries that we could follow. However, while doing our initial shop for the bathroom we decided to scrap the idea for the moment, filing it away as a potential later day project because of the price of the tiles we wanted to use. While not totally insane in price, they were still a non critical extra cost when our budget was already edging on its max number.
During the demolition we took down the old medicine chest and light, and discovered the hole(s) in the drywall that were being hidden by them. Knowing the heights at which we planned on putting the mirror and new light fixture, the largest hole was going to show smack dab between the two. The easiest solution to this problem was to add the tiled wall back into our plan!

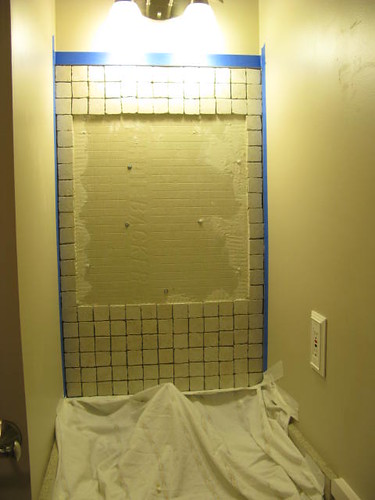
 A quick run out to Lowe's provided us with all new materials that were passed on during the first trip. While standing in the aisles we decided on not tiling the wall all the way up or behind the mirror. Mainly because it was going to cost us even more monies to take the tile up to the ceiling and second because I didn't want the light sticking out of the tile. Which is just a personal design decision for this bathroom.
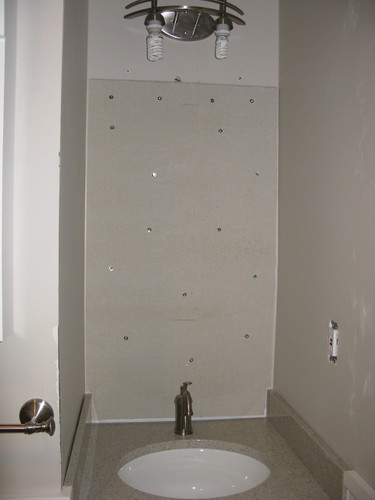
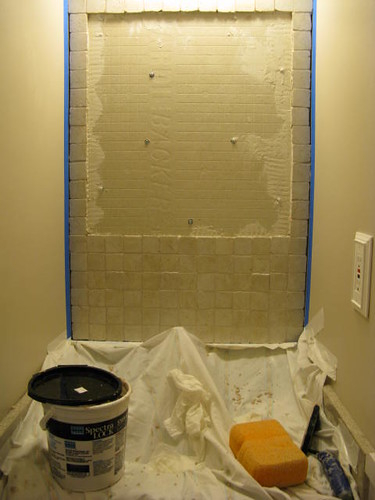
Notice that with the backer board up and installed you can no longer see the drywall holes! And our sweet $35 light is almost ready for its close up. We carefully taped off the walls and sink before putting the tile up and grouting. This way the counter was protected from falling bits, so glad we did put the protection down because grouting the tiles caused a giant mess! It was like a grout massacre happened on our wall and there were no survivors.
No comments:
Post a Comment